I’m going to go into a lot more detail on this article when it’s necessary for just explaining what the difference between editing and retouching is. I do know that some people are fascinated by the processes used in my work. Generally, I won’t be sharing how to do this work. If you’d like to learn how there are many YouTube tutorials for everything on this list. But it is standard practice for me with all of my clients to use these skills, so I wanted to help explain what it means when I say “edit” and why retouching raises the price – and final quality – of a photography service.
When I speak to a client about sending them a number of proofs to select favourites from for further editing, I am talking about retouching those images. The images that will be sent as Proofs are already edited.
The difference between editing and re-touching
To edit a photo is to do the following three things.
- Exposure Correction
Ensure that the exposure (the scale of brightness to darkness) is perfect for each image and neither excessively overexposed or underexposed, including changing the exposure of part of the image. In film days, this process of ensuring every area of the photo was properly exposed was a time-consuming one called “dodging and burning,” but it’s often a quicker process for modern editors. I find that I need to do additional work on average 1 in 10 photos, but I don’t consider this re-touching.
- Crop
Ensure that the photo is “cropped” so it visually framed inside the boundaries without any distracting elements, at the best size. Most photos I crop well in camera – but sometimes this is not possible, especially with portraits, or if I am using “prime” lenses without a zoom capability and I am personally unable to move closer to an object or building. For example, if there’s a busy roadway in front of me, but the image quality would be better without a zoom lens, I might choose to crop it during editing process. For portraits, this often means re-cropping a candid photo to better follow the rules of composition.
- Color Balance
Ensure that the final color or black and white finish is pleasing to the eye, or “color balanced.” The two most common kinds of color balancing are between blue and yellow and between green and magenta. The former is somewhat a matter of taste – the latter can make or break a photo easily. The third part of color balancing involves saturation and vibrance – measures of color that are, like good sound mixing, invisible when done well and easily notable when done poorly. Finally, some images may require a particular color to be edited – perhaps a purple looks blue because of lighting conditions – this individual color can also be edited. Again, I wouldn’t typically call this work retouching.
- Very Basic Retouching Work
Extremely basic retouching – such as removing a spot or two from an image, or a single piece of garbage from a lawn, is always included in my editing work.
Unedited vs. Edited
What I consider Retouching is all the additional work done after the editing of a given set of photos is completed, and it will be different work depending on what kind of photo it is.
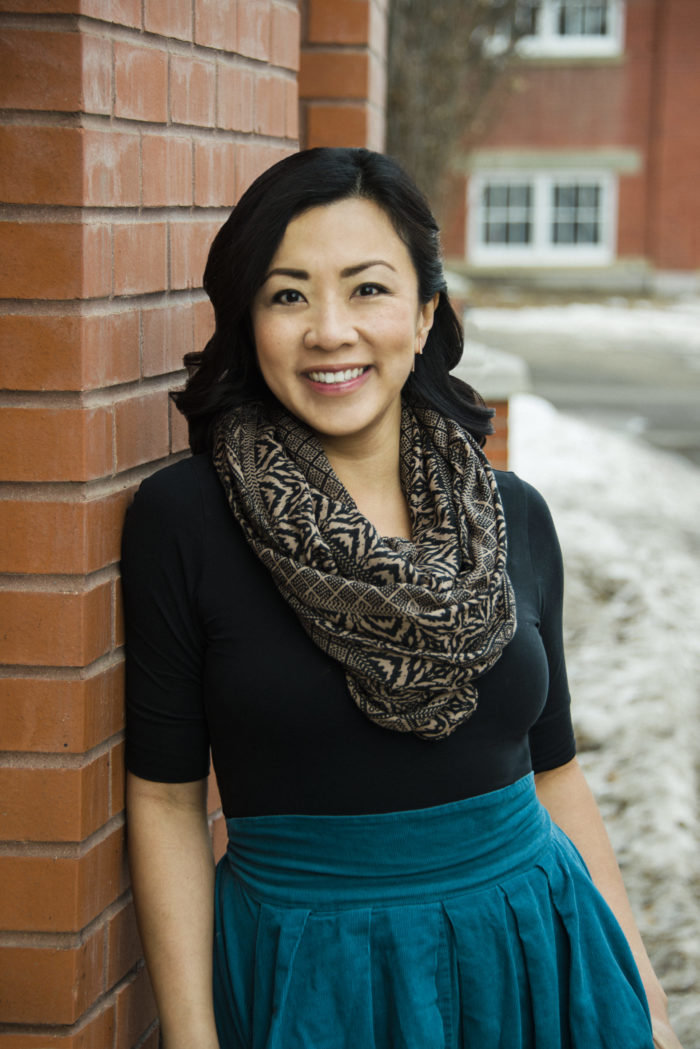
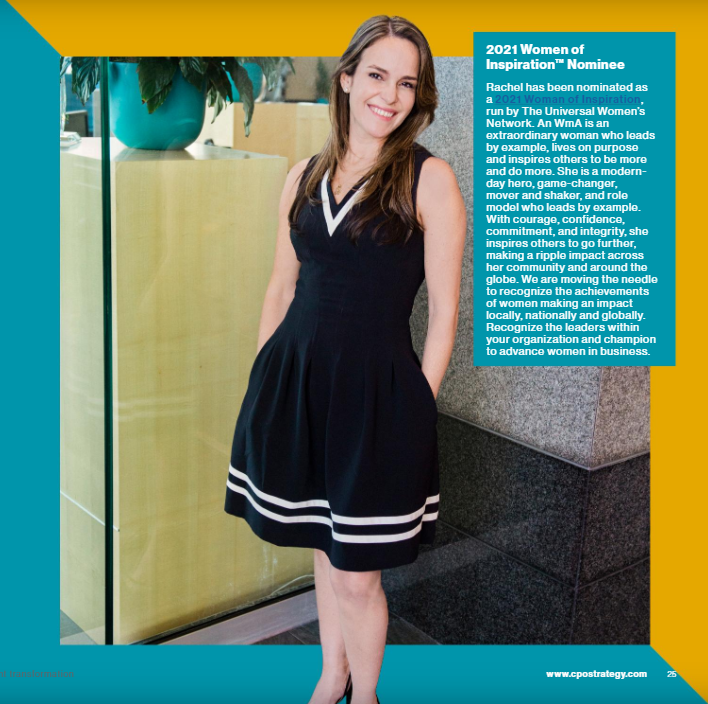
Retouching a Portrait
The most well known kind of retouching is what is done to models in magazines. This kind of retouching smooths out and typically lightens the skin, removes any errant hairs and blemishes (like pimples for instance) and lightens or darkens parts of the face for more dramatic effect, such as a makeup artist does with contouring.
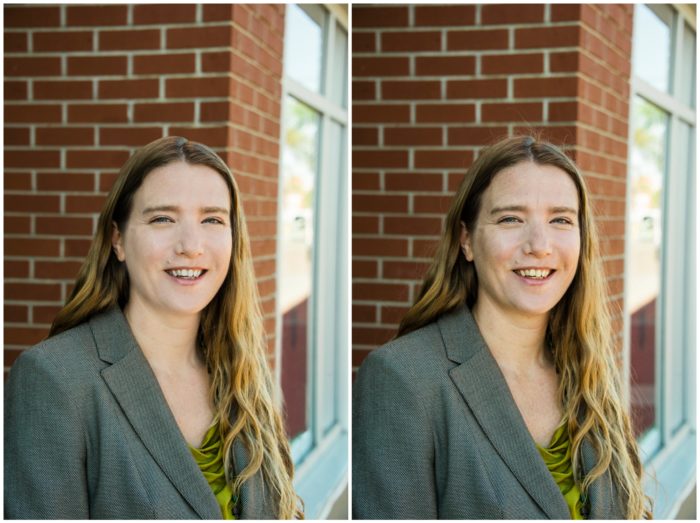
My headshot photography offerings typically include the kind of retouching shown above. In the example photo, you can see that skin has been lightened, wrinkles reduced but not completely removed, and stray hairs around the person have been removed.
For many, this idea includes what’s known as “photoshopping” but is technically called the Liquefy tool – to manipulate the size and shape of anything in a photograph. This is typically the treatment that people are talking about if they ask a photographer to make them look thinner.
I’m going to be completely honest. I have extreme moral issues with the liquify tool. Whenever possible, I completely avoid using it on the human body, especially for the sole purpose of taking off a few pounds. I try to only ever use this tool when I have made a posing error that makes you look larger than you are, which doesn’t happen often.
Retouching Other Types of Photography
Retouching occasional candid photographs of events, photos of buildings, and even landscapes is also included in my service. I do not retouch most of my images, however, if there is, for example an obvious garbage can in the background of a photo taken in a park, or a large weed in the foreground of the grass, that is something that I will typically take out.
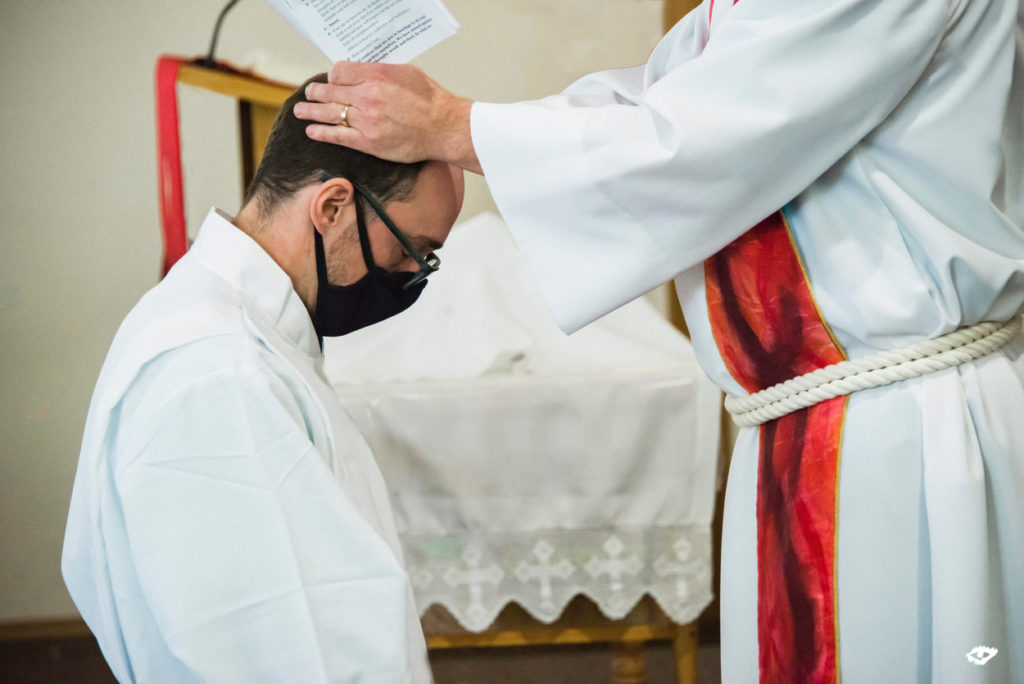
Re-creating Grad Photos
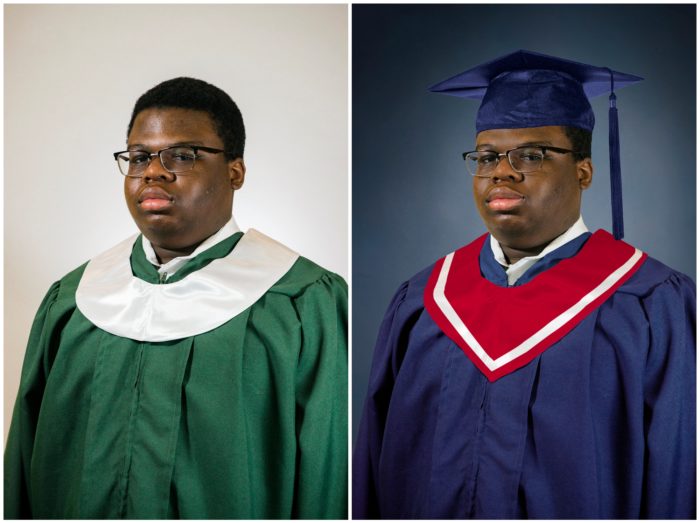
Sometimes I will recreate a grad photo for a client. Here’s an example of a full recreation to the original colour and type of grad gown, stole, and hat from the graduates high school, Lillian Osborne. In this case, the hat was photographed using the same lighting situation on the same day, but on my husband’s head, because the hat I had was a bit too small for this man’s glorious noggin. In most cases, this kind of reconstructive work is fairly expensive, but for something like a graduation or wedding, often a long term investment.
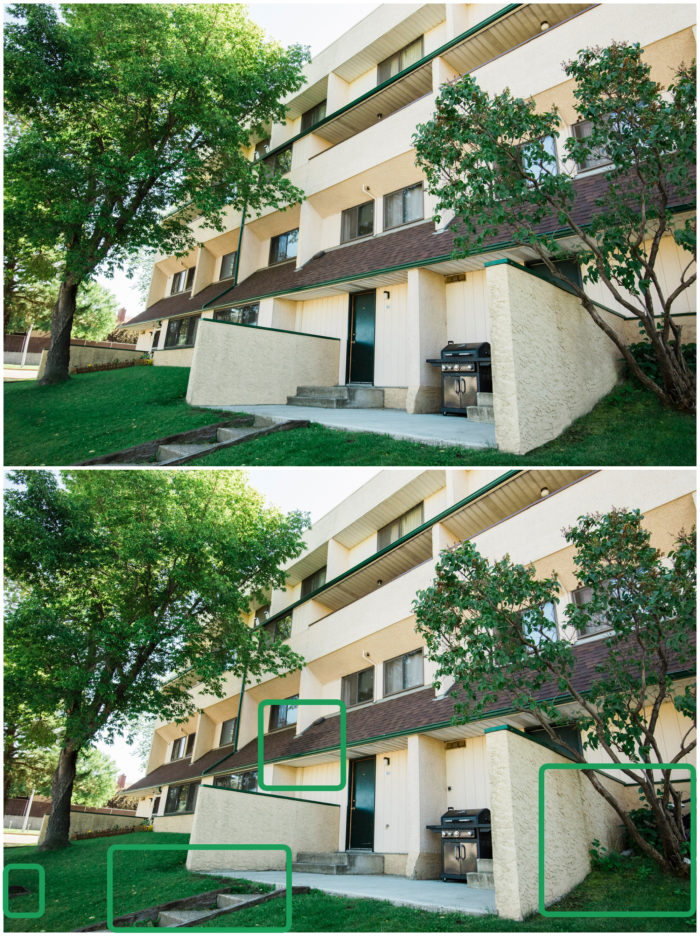
Retouching Architectural Photos
Retouching for exterior architecture photos may include removing odd-looking objects inside a window, external pipes, grafitti, and other unsightly objects or blemishes on the property or grounds. Note the green squares in the original photo below to see where this photo has been retouched.
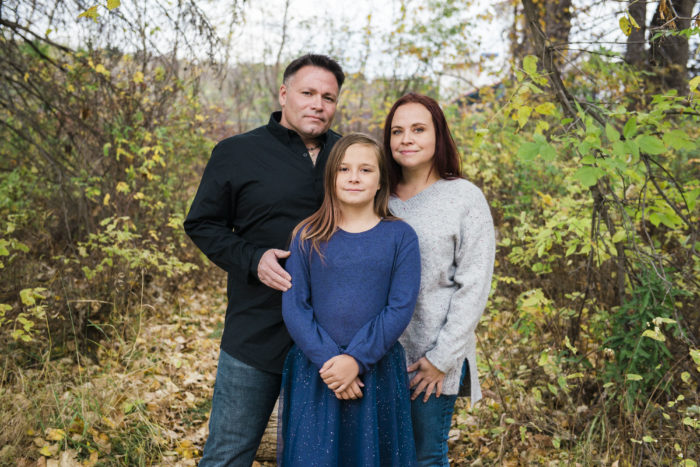
Face Replacement and Photo Splicing
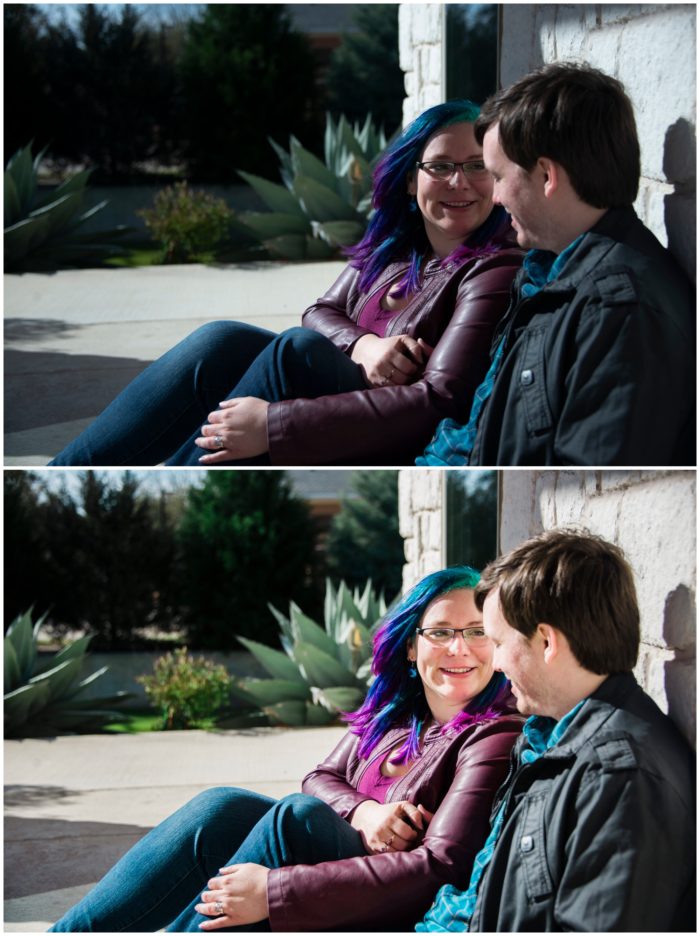
The term for taking two photographs that are very similar except for, say, the facial expression of one or more people in part of the photo is called splicing. This is a technique I have commonly used when one person is blinking, or achild in a family photo is making an undesirable expression. If a photographer does their job right, you will never even notice that this operation has occurred. The smallest and easiest kind of adjustment is to take a small portion of the face from a very similar photo, typically taken within the same two or three second period, and graft it onto the face of one individual in a large family portrait. Other photos you have to replace entire people. Some photos may have grafts from five to seven other images.
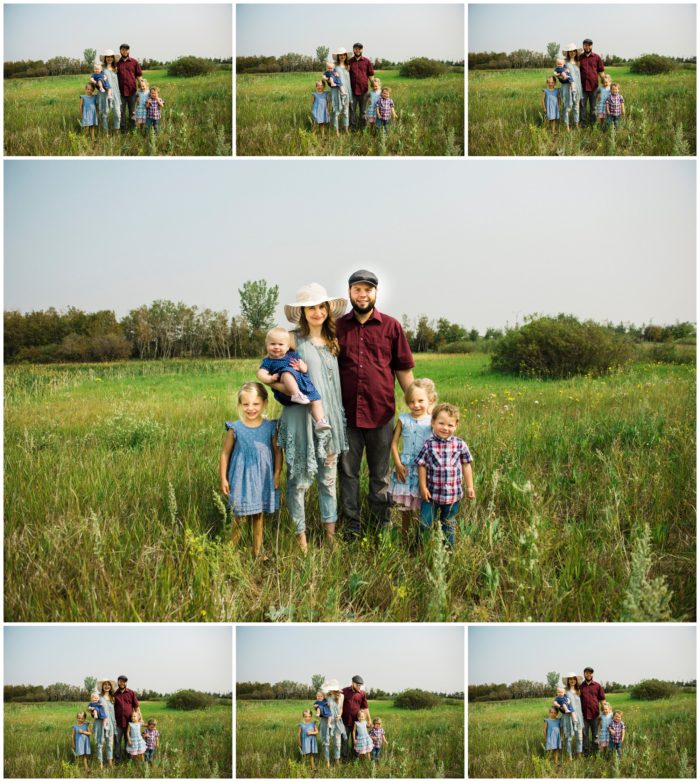
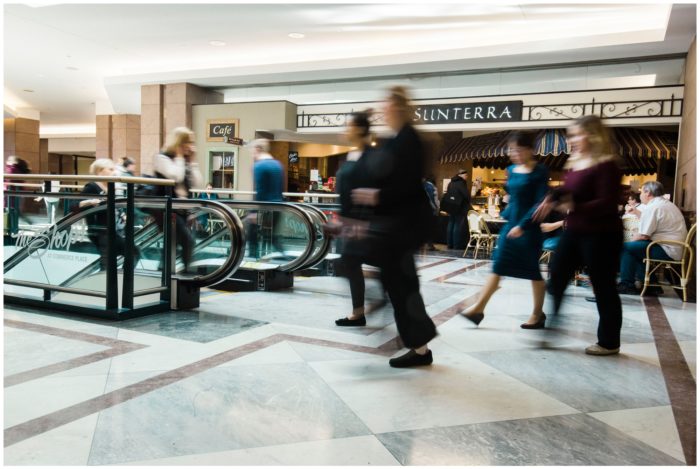
I very seldom have a family photo session or large group portrait at an event where this is not necessary. Thankfully, after having been a professional photographer for 13 years, I’ve become very adept at making these changes. I also use photo splicing when I’m doing work in the interior of a business and want to either eliminate clients, or make it seem as though the space is busy. I might layer 5 or more images to get the effect of a crowded mall, for instance.
Hopefully these examples help you to understand the difference between photo editing and retouching in my work.